Frosted Animal Cookies
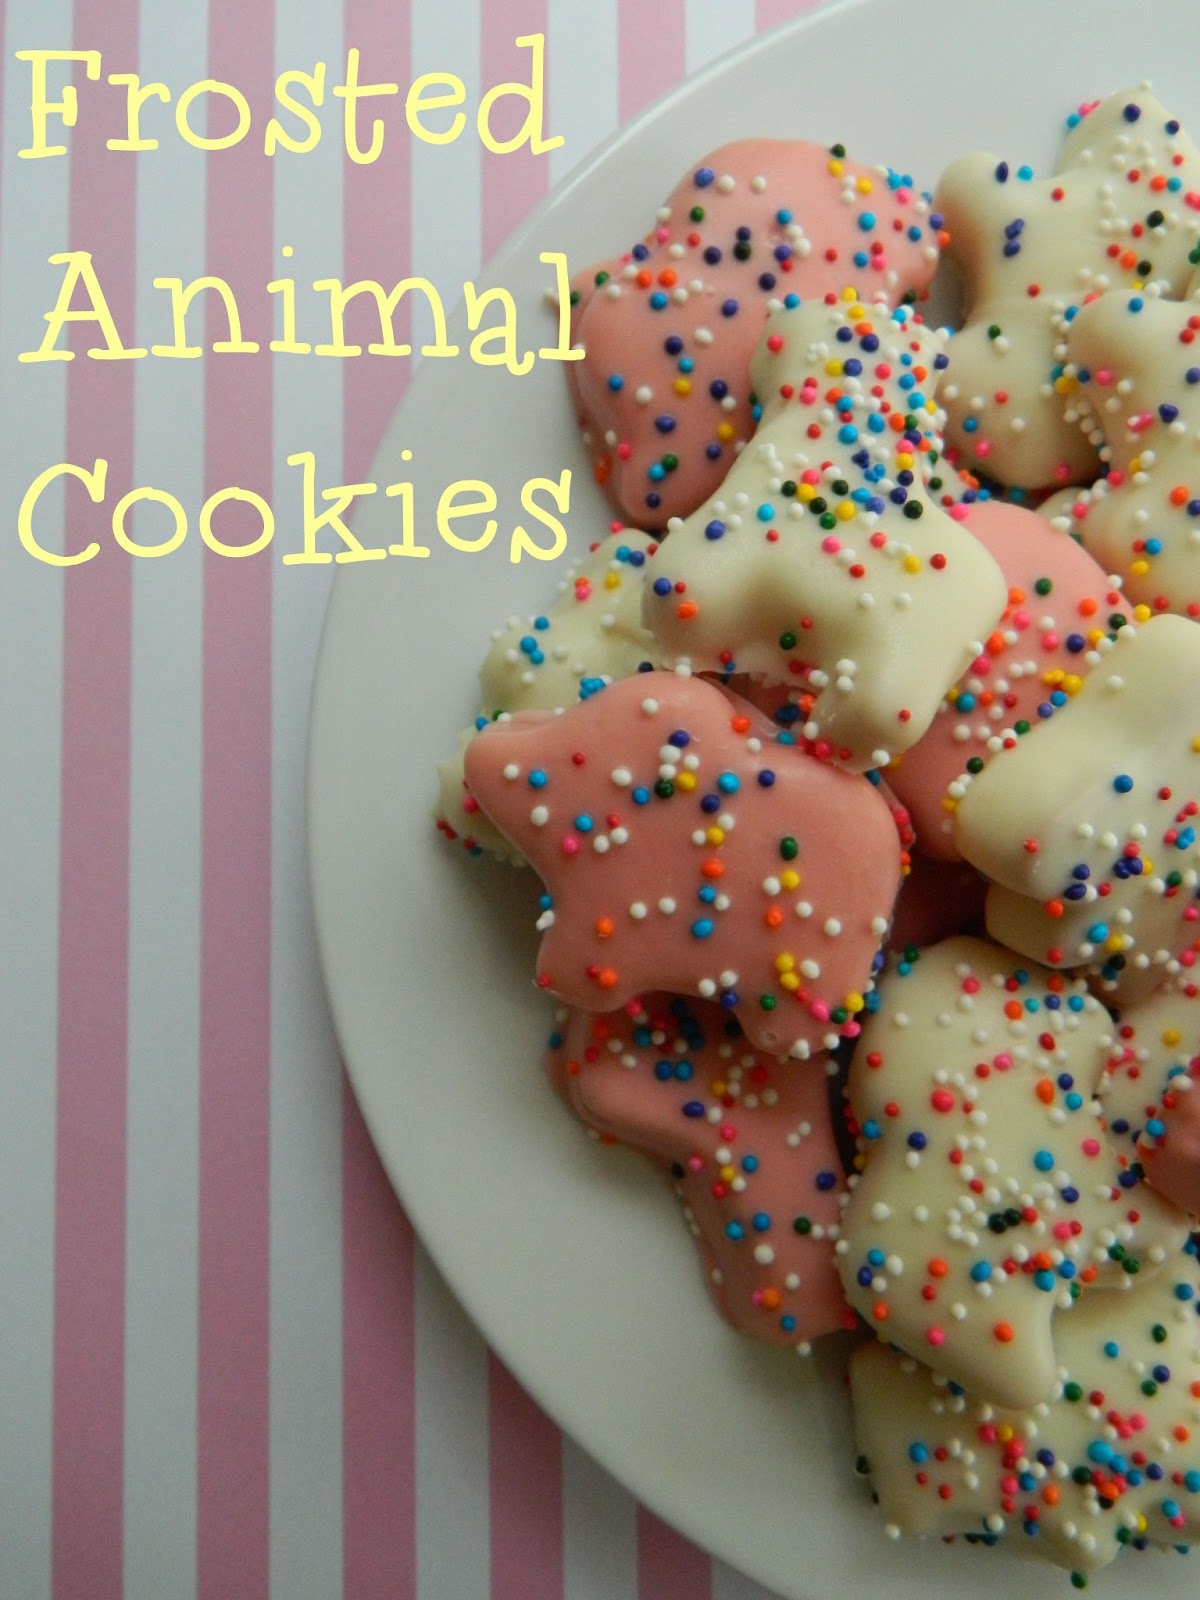
Not so long ago, I saw a post on Pinterest for frosted animal cookie truffles. I was inspired and decided to try and make my own animal cookies at home. This is my second time making these. As you may remember from last week's post that I was out of pink chocolate melts and could not find my little animal shaped cookie cutter. As a result, I had to use some tiny flower cookie cutters. I know that the shape of the cookie doesn't affect the taste of the cookie, but they just were not frosted "animal cookies". I know...my type "A" personality is showing...lol.
Happy Baking,
Miranda

Ingredients:
3 cups all-purpose flour
2 teaspoon baking powder
1/4 teaspoon salt
1 cup softened unsalted butter
1 cup sugar
1 large egg at room temperature, beaten
1 teaspoon vanilla extract
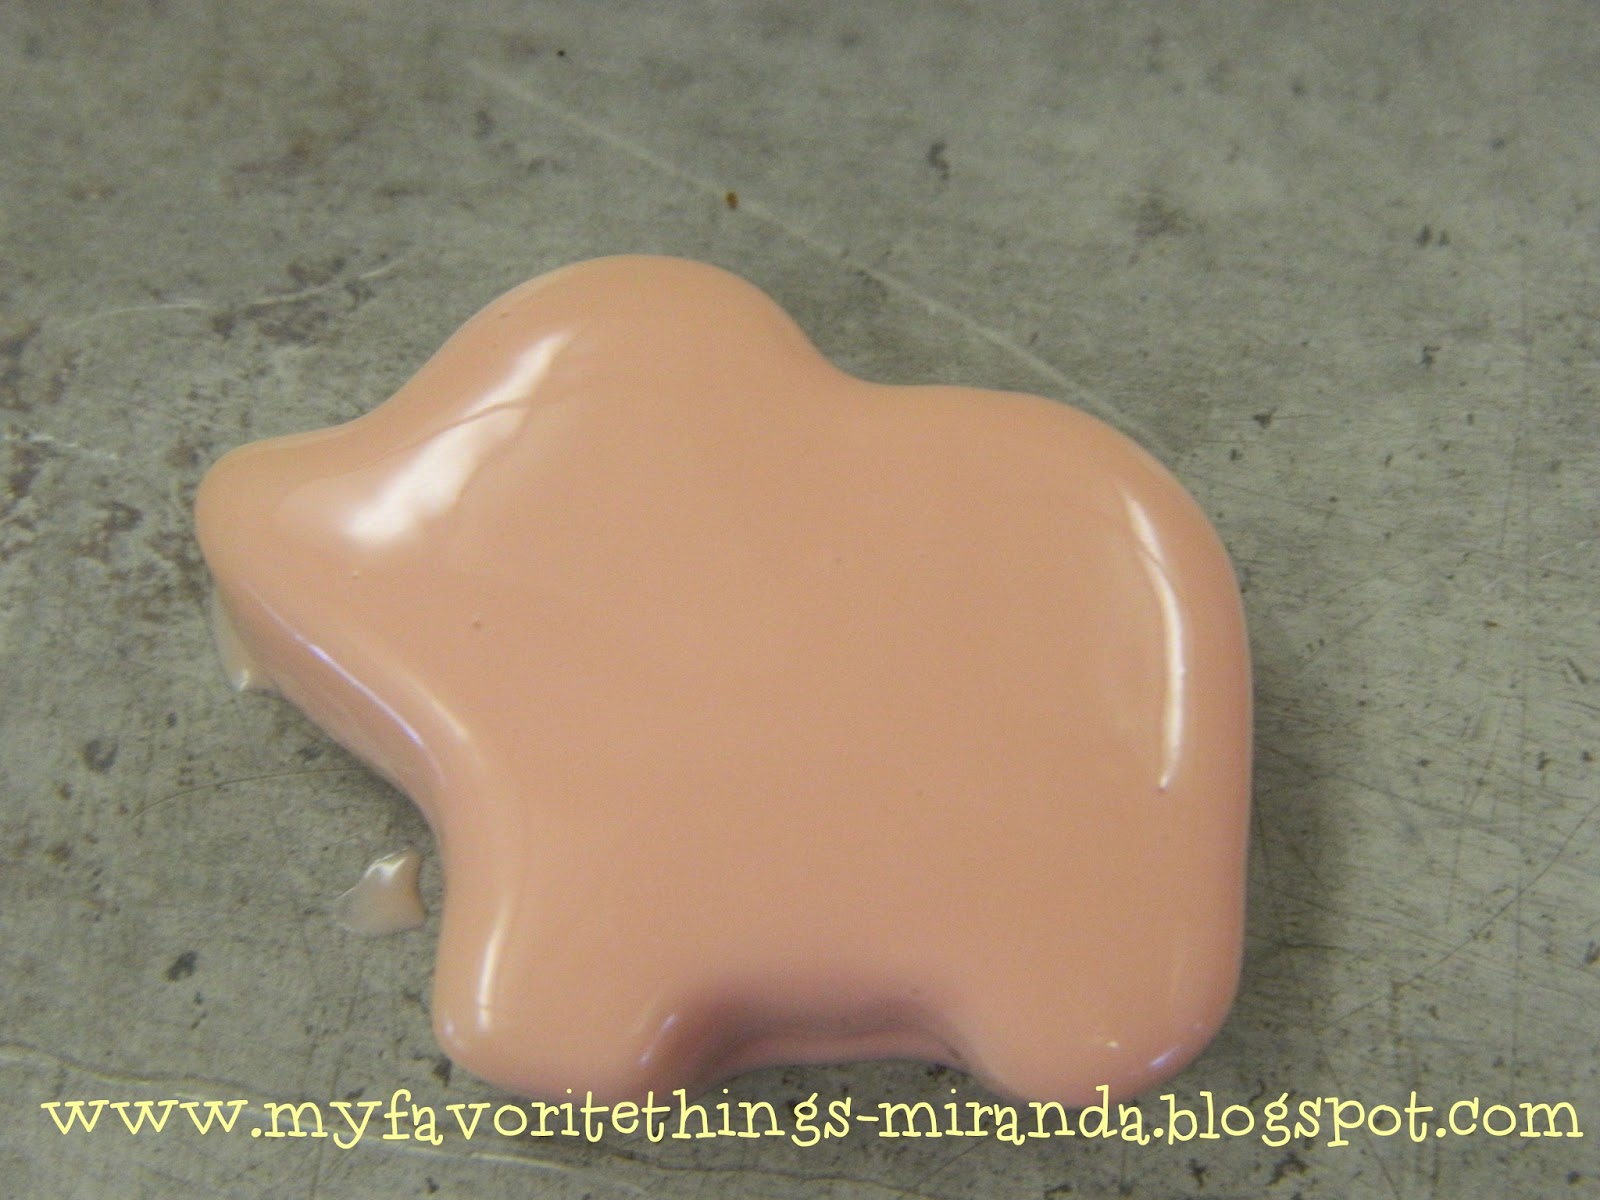
1- 12 oz of each pink and white Wilton candy melts
1 tsp vegetable oil, helps to make melts thinner for dipping
rainbow nonpareils sprinkles
small animal cookie cutters
Directions:
Preheat oven to 375 degrees. Line two baking sheets with parchment paper.
Sift together flour, baking powder, and salt in a bowl and set aside.

In stand mixer, cream together the butter and sugar with an electric mixer on medium for several minutes until light and fluffy.


Do not chill dough! Divide dough into 2 balls. On a lightly floured surface, roll each ball into a 12 inch circle that is approximately 1/8 inch thick.

Using a cookie cutter dipped in flour, cut out cookies and place on sheets about 1 inch apart.

Bake for 6-7 minutes,or until cookies are lightly browned. Cooking time will vary depending on your oven, so make sure to keep an eye on them. They go from light brown to an icky and inedible dark brown in a flash!
Transfer cookies to wire racks with a thin metal spatula to cool completely.
Next, using a double boiler, fill the lower pan with water until it nearly touches the bottom of the upper pan. Place both pans (inner thin-bottomed pan on top of outer pan filled with the appropriate amount of liquid) on the burner.
Although you want the water in the lower pan to boil gently, you want to avoid two things -- boiling your water away, or allowing the heat to come up the pan sides thus over-heating the outside edges of your upper pan.
To avoid these two extremes, heat your double boiler to medium heat. Add one bag of candy melts and 1 teaspoon of oil to upper pan of double boiler. Stir constantly until completely melted. Reduce heat to low.


Place cookies in small plastic candy bags and tie with brightly colored ribbon as a surprise in your child's lunch or to brighten someone's day! Enjoy!
Makes 68 adorable little cookies. Enjoy!